Introduction:
In this comprehensive guide, we will demystify the “This Site Can’t Be Reached” error message that you might have encountered while browsing the internet. This error can be frustrating, but fear not – we will break it down in simple terms and provide step-by-step solutions to help you get back to browsing without a hitch.
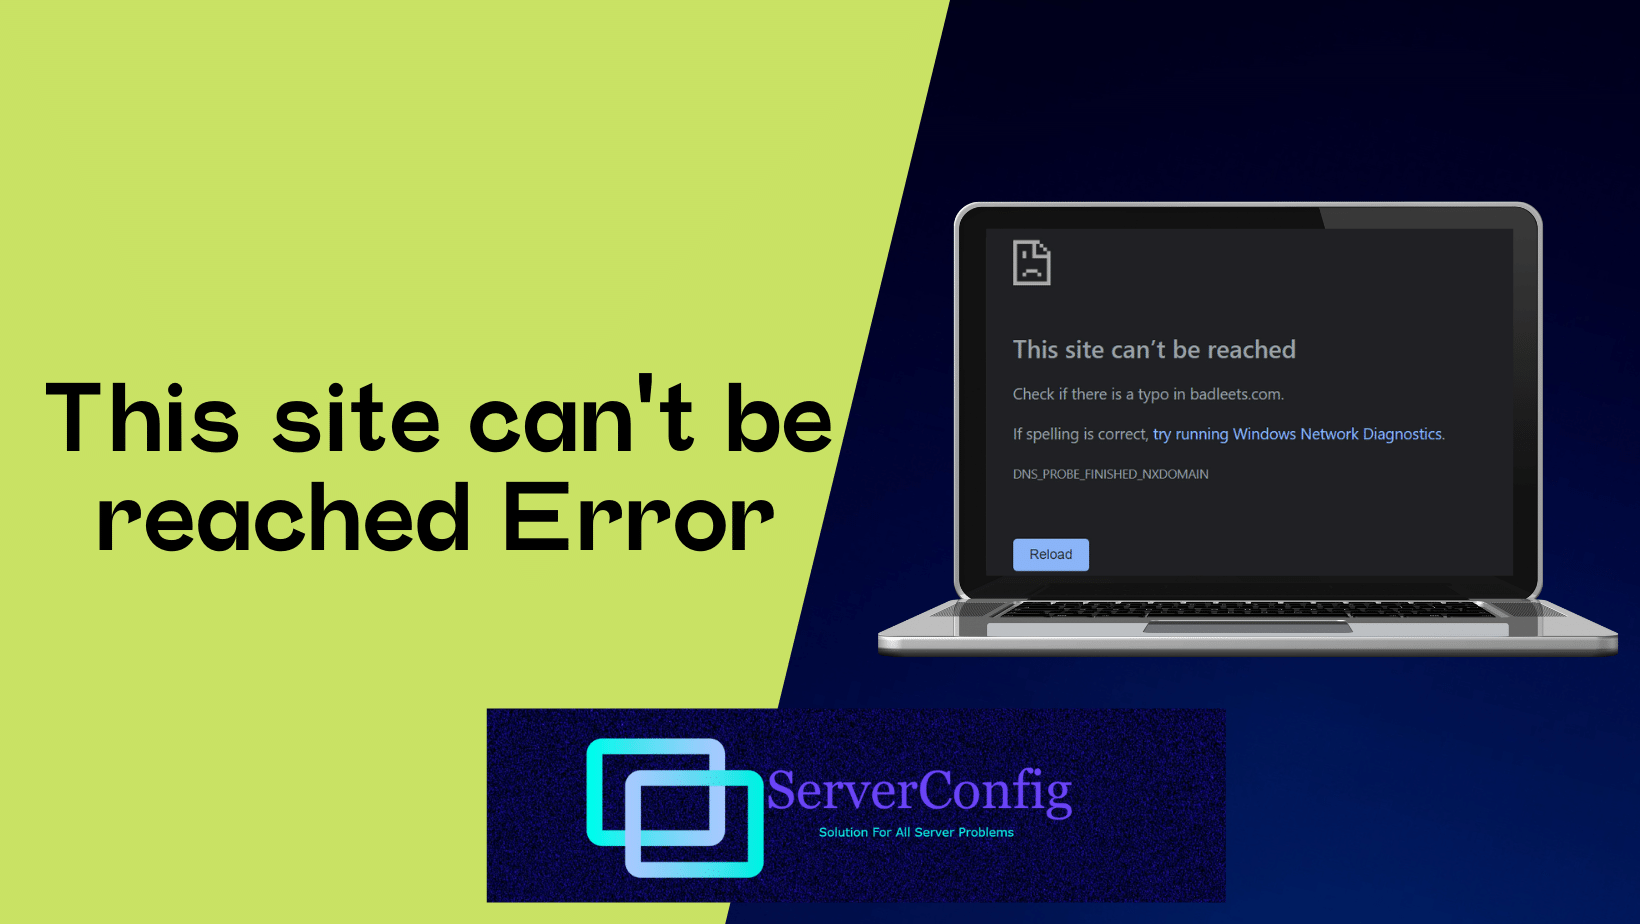
- What is the “This Site Can’t Be Reached” Error?
The “This Site Can’t Be Reached” error is a message you may see on your web browser when attempting to access a website. It indicates that your browser could not establish a connection to the website’s server, making it inaccessible. This error message can be displayed in various forms, such as “ERR_CONNECTION_TIMED_OUT,” “ERR_NAME_NOT_RESOLVED,” or “DNS_PROBE_FINISHED_NO_INTERNET,” depending on the underlying issue. - Common Causes of the Error:
Understanding what triggers the “This Site Can’t Be Reached” error is essential for troubleshooting. Common causes include:
- Internet Connection Issues: A weak or unstable internet connection can prevent your browser from reaching the website.
- DNS Resolution Problems: Domain Name System (DNS) issues can lead to the error, such as incorrect DNS settings or server unavailability.
- Browser Cache and Cookies: Accumulated cache and cookies in your browser can interfere with proper website loading.
- VPN or Proxy Settings: If you’re using a VPN or proxy server, misconfigurations or server problems can cause the error.
- Firewall or Antivirus Blocking: Overzealous firewall or antivirus software can mistakenly block website connections.
- Malware or Viruses: Infections on your device may disrupt network connectivity.
- Outdated Browser: Using an outdated browser version can lead to compatibility issues with websites.
- How the Error Affects SEO:
The “This Site Can’t Be Reached” error can have adverse effects on your website’s SEO performance. When search engine crawlers encounter this error while indexing your site, it may result in:
- Crawling Interruptions: Search engine bots may fail to crawl your web pages, leading to incomplete indexing and potential ranking drops.
- Negative User Experience: Frequent errors frustrate users and lead to higher bounce rates, which can negatively impact your site’s SEO.
- Decreased Crawl Frequency: Search engines may reduce the frequency of crawling your site if they encounter consistent connectivity problems.
- Indexing Delays: New content may not be indexed promptly if search engines cannot access your site reliably.
- Troubleshooting Solutions:
Now, let’s explore step-by-step solutions to resolve the “This Site Can’t Be Reached” error:
4.1. Check Your Internet Connection:
Ensure you have a stable internet connection. Try accessing other websites to confirm if the problem is specific to one site or your entire internet connection.
4.2. Clear Browser Cache and Cookies:
Clearing your browser’s cache and cookies can resolve issues related to stored data. Go to your browser settings and clear browsing data.
4.3. Disable VPN or Proxy:
If you’re using a VPN or proxy server, disable it temporarily to see if it’s causing the error.
4.4. Flush DNS Cache:
Open the Command Prompt (Windows) or Terminal (macOS/Linux) and type “ipconfig /flushdns” (without quotes). This action clears the DNS cache.
4.5. Reset TCP/IP Stack:
In the Command Prompt or Terminal, type “netsh int ip reset” (Windows) or “sudo service network-manager restart” (macOS/Linux). These commands can reset network configurations.
4.6. Disable Firewall or Antivirus:
Temporarily disable your firewall or antivirus software to check if they are blocking the website. Remember to re-enable them afterward.
4.7. Check for Malware or Viruses:
Run a thorough scan of your device with reliable antivirus or anti-malware software to detect and remove any infections.
4.8. Update Your Browser:
Ensure you are using the latest version of your web browser, as outdated versions may have compatibility issues.
- Additional Tips for Webmasters:
If you are a website owner or administrator, consider the following tips:
- Monitor your website’s uptime using online services or tools.
- Implement a reliable DNS hosting service.
- Keep your website’s software, plugins, and themes up-to-date.
- Set up a Content Delivery Network (CDN) to improve website performance.
- Regularly backup your website to avoid data loss during troubleshooting.
- Conclusion and Final Thoughts:
Resolving the “This Site Can’t Be Reached” error is crucial for a seamless browsing experience and maintaining good SEO practices for your website. By understanding the common causes and following our troubleshooting solutions, you can overcome this error and ensure your website remains accessible to both users and search engines. Remember that a well-maintained and error-free website contributes to better SEO rankings and a positive user experience.